May 6, 2022
Are Money Transfer Apps Safe? How to Protect Yourself
I remember the days when friends would remind me, “Hey, you still owe me money for that .” [...]
WHAT’S IN THIS REVIEW?
Disclaimer: Partnerships & affiliate links help us create better content. Learn how.
Apple devices have long been seen as a viable choice for privacy-conscious owners, as the company unveiled a range of new measures designed to protect users in 2021. These include the ability to stop email tracking on your iPhone, as well as requiring apps to ask users if they want to be tracked in the first place.
(As you might expect, the vast majority choose not to do so, causing the likes of Facebook to blame Apple for “lower than expected quarterly growth” since the changes took place.)
A VPN is a great way to complement Apple’s commitment to protecting user data, especially while browsing the web. It can also be used to bypass any regional blocks on restricted websites or content.
It’s exceptionally quick and easy to set up a VPN with either an iPhone or iPad, so we’ve put together a step-by-step guide to take you through exactly what you need to know.
Given the emphasis on privacy, you’d be forgiven for thinking that you’ll be safe while using Apple devices. However, you can still be tracked while you’re online, whether it’s via apps, location services, or the browser.
iOS currently accounts for roughly 28% of the mobile market, while the split is almost even for tablets at 55.9% for the iPad, and 44% for Android.
There’s a considerable market share for Apple devices, which is why they’ve been targeted by everything from malware injected on the behalf of governments, to a user hacking into “hundreds of Apple iCloud accounts to steal [personal] photographs.”
However, your online data is more likely to be scooped up by websites with tracking technologies, or even your ISP while using WiFi. The same is true for mobile data providers.
For example, AT&T and Verizon have both already made investments into the sale of their customers’ online data. And, in March 2021, the Wall Street Journal reported that “T-Mobile US Inc. will automatically enroll its phone subscribers in an advertising program informed by their online activity, testing businesses’ appetite for information that other companies have restricted.”
They all want a piece of that sweet advertising revenue, and it’s tempting to sell information about their customers’ personal habits to the highest bidders.
The problem is, mobile network operators have valid reasons to keep track of their users, whether it be due to capped data allowances or ensuring they can get service. Another example (of many) would be location tracking, whether it be for maps or to ensure you’re in the right country.
In 2019, AT&T argued that the sale of user location data wasn’t against the law, although they decided to stop doing so soon after the news was made public. It’s still probably not a good idea to trust mobile networks to take care of your personal data. We’ve listed two of the main benefits to be found in separate sections below.
VPNs can provide that extra layer of security needed to stay anonymous online. But they can also come with a ton of secondary benefits users aren’t always aware of. In addition to privacy, check out the bonus perks that make a VPN worth the investment.
Privacy and anonymity sound similar, but they’re ever so slightly different in practice. Privacy means that you’ll be able to keep your online activities to yourself or even a select group. Meanwhile, anonymity has none of these restrictions, aside from the fact that you’ll be unable to be identified while online.
In other words, an example of online privacy would be protecting your personal data or your browsing history. Online anonymity could involve signing up for a service or forum where you take part in discussions, but it can’t be linked to you personally.
A virtual private network is a great tool for enhancing both privacy and anonymity. For example, a mobile network provider will be able to see how much data is being used with a VPN, but your cellular internet traffic is protected from being seen by the mobile network or any interested third parties. This is because a VPN is used to create a secure online tunnel between your device and its servers.
All of your data is encrypted, so it can’t be seen anywhere else. All they’ll know is that you’ve connected to a VPN server. You’ll be able to use your iPhone or iPad privately while remaining anonymous.
The ability to access blocked content is a happy byproduct for many premium VPN providers who offer IPs and servers in different regions.
For example, you’ll be able to change your Netflix region to stream content from countries, while being able to access services like Hulu, Prime, and BBC iPlayer, with results varying depending on the VPN you’ve selected.
Some are better than others, as streaming services have worked diligently to block the IP addresses used by VPNs. This is often to enforce the terms of their broadcasting deals, which may only cover a specific region or nation.
A lot of sites use IP addresses to track shoppers online to price their products and services. Airlines and retail shops are notorious for adjusting their prices based on a shopper’s location or the number of times you visit their site.
Luckily, many have found that using a VPN when shopping online will help save money. The trick is to change your virtual location to a lower-income country—such as Mexico or India. Then, you’ll often find cheaper flights and products compared to what you would in higher-income countries like the US or Switzerland.
Here’s a step-by-step guide to setting up a VPN on either iPhone or iPad.
Firstly, you’ll want to choose a VPN service that works well with iOS devices. For the purposes of this guide, we use the robust IPVanish VPN.
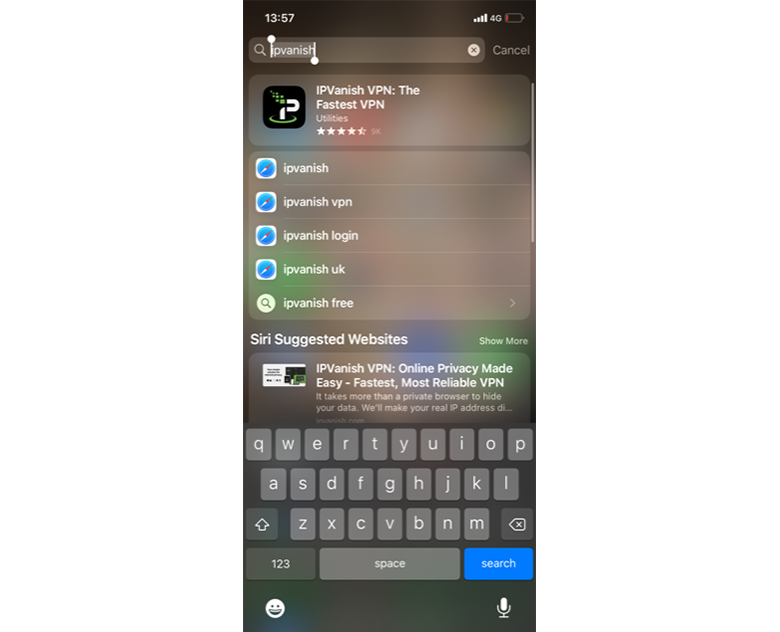
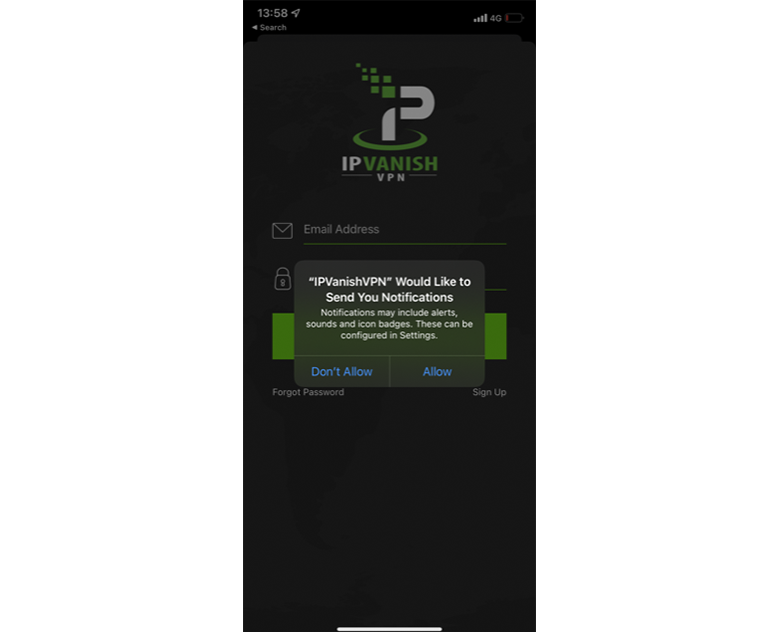
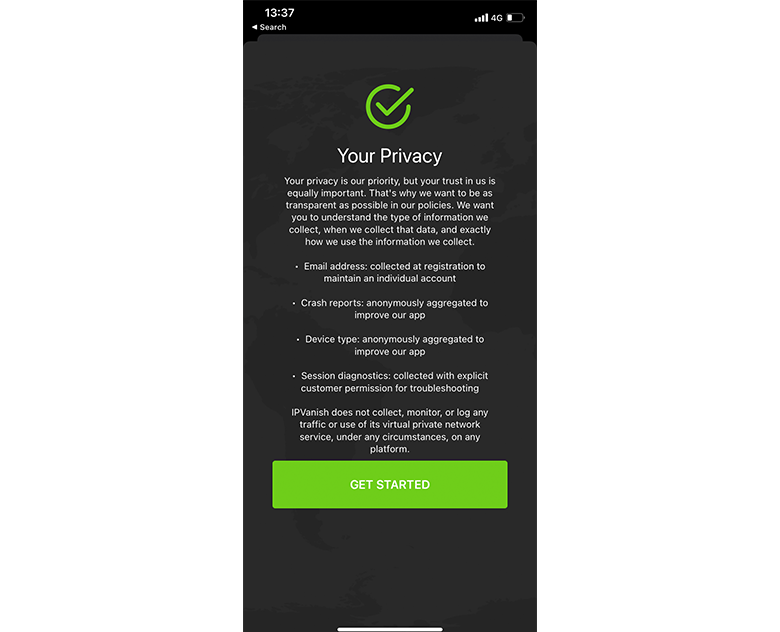
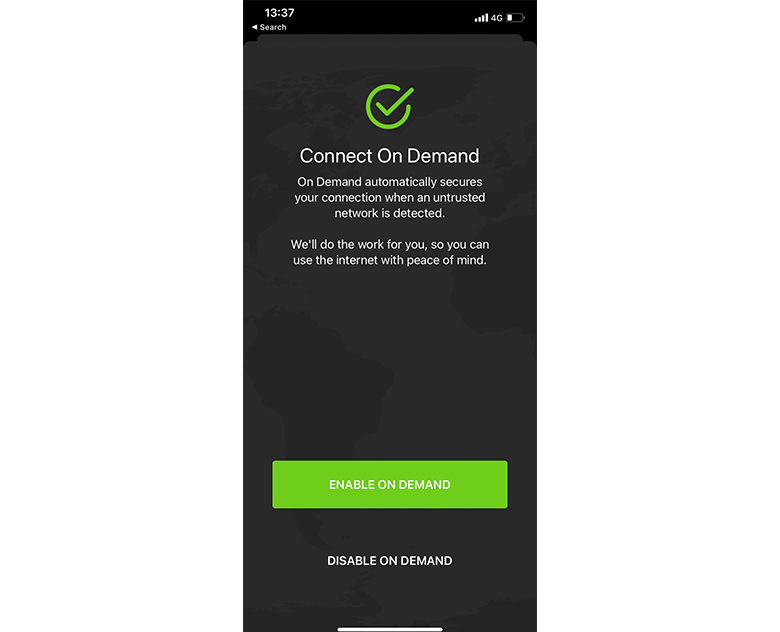
Steps are similar no matter which VPN you’ve selected, as long as they have an iOS app.
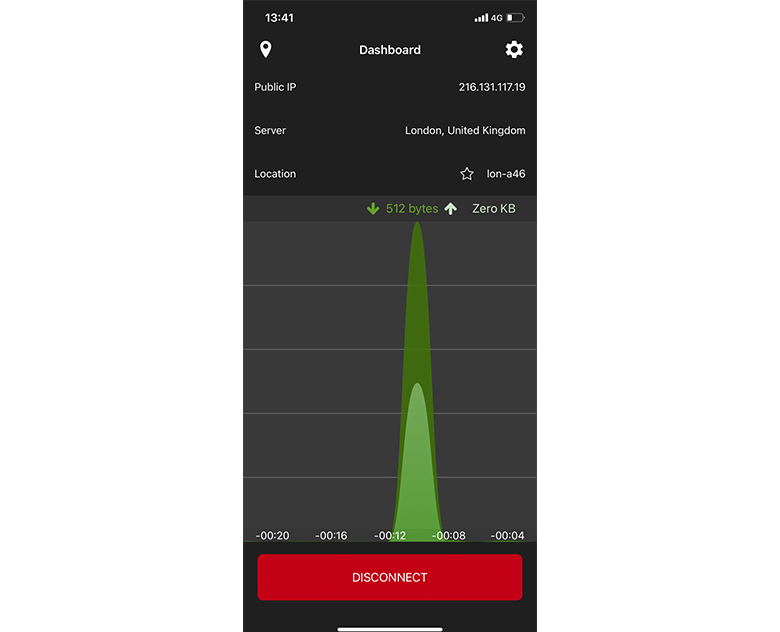
Apple has a VPN & Device Management option that is found within the main Settings menu, although it’s easier to control a VPN directly through the app itself. For example, with IPVanish you’ll find a large red button at the bottom labeled Disconnect.
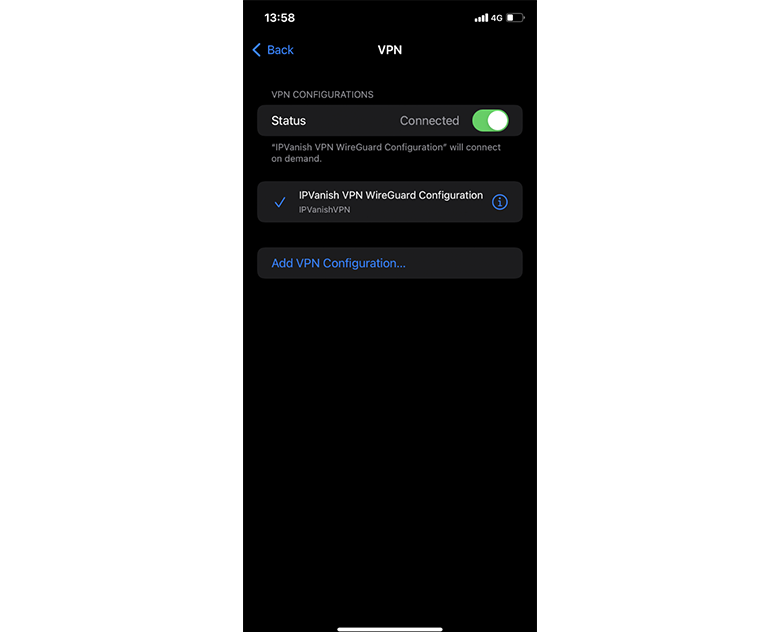
If you’re connected to more than one service, there’s another method to control VPN usage.
Alternatively:
There may come a time when you want to get rid of a VPN, whether it be due to being replaced by a new service, or a range of different circumstances. (You might decide to use a VPN while on holiday, or you may have to use one for work.)
Whatever the case, removing a VPN from your iPhone or iPad is reasonably simple and is found within the same settings menu mentioned above.
First and foremost, native app support will ensure that the service will work as intended.
Take a look at one of our many VPN reviews to get a feel of the average speeds they have to offer, as well as their server placement. Numerous high-speed servers will always be helpful.
Their stance on logging will also be important if you’re more interested in privacy. We’d recommend a no-logs service that has also conducted a third-party audit to back up their claims. Audits are slowly becoming an industry standard, which is a good thing for users.
Above all, the ideal VPN for Apple devices will hide your IP address from unwanted parties, while working to prevent your mobile carrier (and ISP) from throttling internet speeds. The ability to unblock streaming content is also a significant bonus.
You can also check out our guide to the best VPNs for iOS if you’re struggling to choose the perfect service.
A free VPN service is always tempting, but the majority will be unable to access content. Worse still, free providers have been caught tracking their users and selling their data and are also prone to leaks.
A semi-recent example would be when 21 million users had data including email addresses, randomly generated password strings, payment information, and device IDs stolen after SuperVPN, GeckoVPN, and ChatVPN were breached.
The majority of people are used to free apps, especially on mobile devices like phones and tablets. It’s been drilled into us repeatedly over the past decade, and it’s tough to pay for a recurring service when others claim to be able to do it for no charge at all.
Luckily, many premium VPN providers offer cheap VPN plans that cost less than the cost of a cup of coffee per month, which we think is well worth the investment for all the benefits it comes with.
We’ve included a range of troubleshooting tips if you’re having issues with your new iOS VPN.
WHAT’S IN THIS REVIEW?